This makes Facebook an essential part of social media strategy for large and small businesses.
When you use Facebook to promote your business, you:
Engage with new and loyal customers
Gain an understanding of your target audience through analytics and insights
Drive traffic to your website or landing page
Promote products, services, and events
Reach more potential customers with Facebook advertising
How to Promote Your Business on Facebook in 7 Steps
Step 1. Set Up Your Facebook Business Page
To promote your business on Facebook, you’ll need a Business Page.
Which is managed using Facebook Business Manager (now called Meta Business Manager).
To create a Business Page, follow these steps:
Create or Log In to a Personal Facebook Account
A Facebook Business Page is managed by a personal account (known as the Page Administrator).
If you already have a personal account, you can use this to create your Business Page.
If you prefer to keep your personal life and business separate, create a new Facebook account to manage your Business Page.
Create a Facebook Business Page
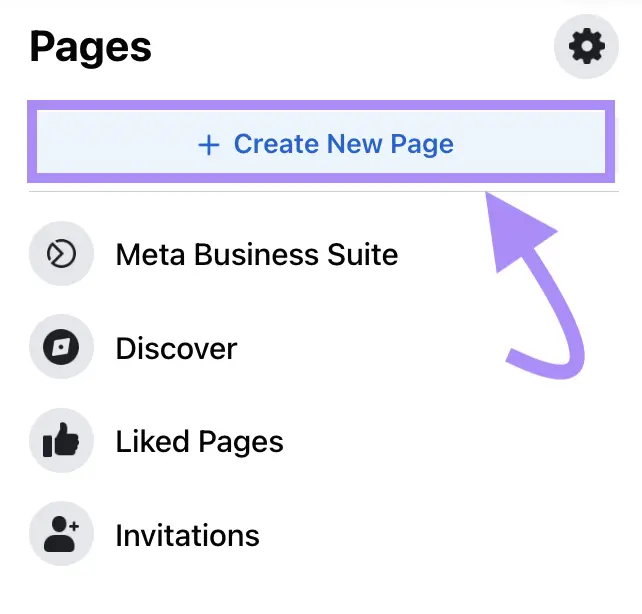
Once you’re logged into the correct Facebook account, navigate to the left sidebar.
Click “Pages.”
Then, click “Create New Page.”
Enter Basic Information
Next, create your Facebook Business Page by entering the following information:
Page Name
Your Business Page name must relate to your business and its products or services.
Otherwise, audiences will struggle to form a connection between your Page and what you offer.
The name of your Business Page is one of the first impressions you make on your audience, so choose wisely.
A good name is clear, concise, and tells the audience about your business.
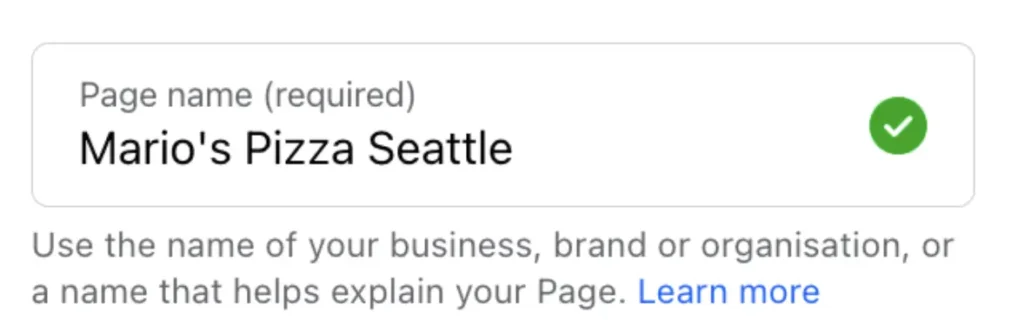
For example, let’s say you’re a pizza parlor in Seattle, Washington, called Mario’s.
An engaging and clear Facebook Page name is “Mario’s Pizza Seattle.” It tells the audience:
The name of the business (Mario’s)
The product available (pizza)
The location (Seattle)
Choose and enter your Facebook page name into the “Page name” box.
Category
The “Category” box allows you to select what type of business you are and the industry you’re in. This helps audiences understand more about your business.
For example, Mario’s could categorize itself as a restaurant, pizza place, or Italian restaurant. Depending on how they want to market themselves to an audience.
Start typing your business category, and the box will autofill suggestions. Select the one that aligns most with your business.
Bio
Your “Bio” is the description of your business and an opportunity to share more information about who you are and what you do.
In Mario’s case, we’ve let the audience know they can get a New York-style slice of pizza on the West Coast.
Type a business description in the “Bio” box. If you’re short on ideas, leave this section blank and come back to it later. Once you’ve filled in all your information, click “Create Page.”
Step 2. Complete Your Facebook Business Page Profile
Include further details about your business to help visitors and potential customers understand more about you.
This encourages them to connect and engage with your Facebook page.
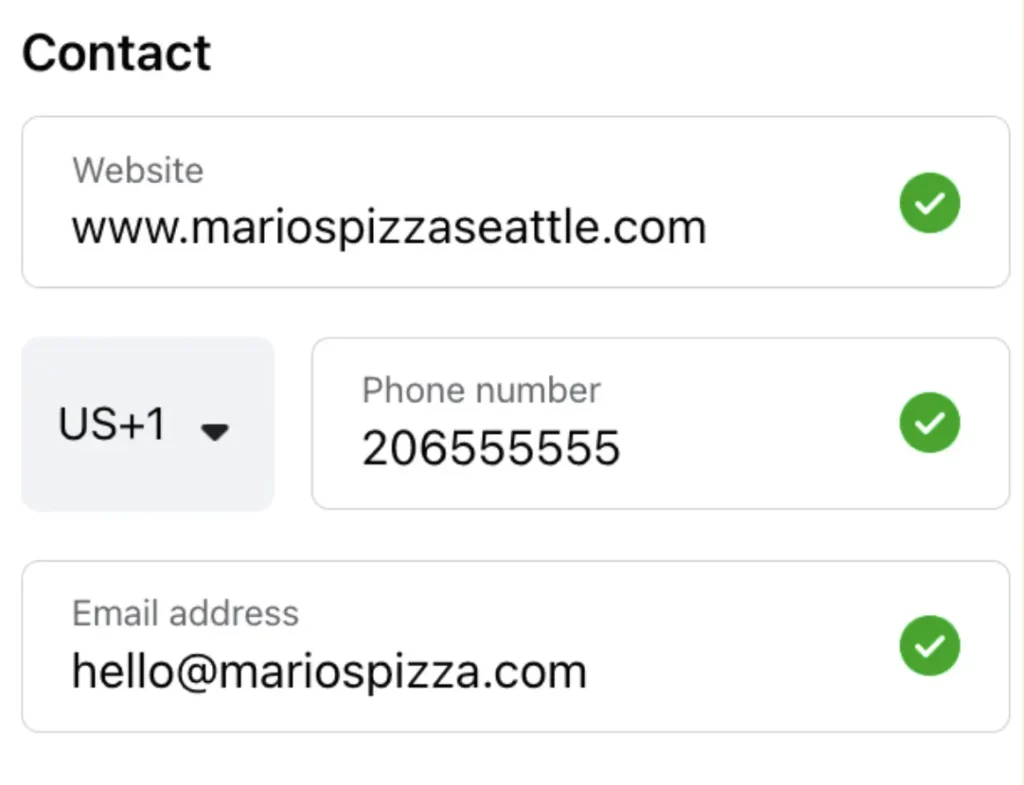
Provide Your Contact Information
Provide your “Contact” information to make it quick and easy for customers to know how to contact you.
Add the URL for your business website, a phone number, and an email address where customers can reach you.
Add a Location
If your large or small business has a geographical “Location”—for example, a brick-and-mortar store or an office—include this information.
This will create a hyperlink on your Facebook Business Page.
When viewers click on the link, Google Maps will open, helping them easily navigate to your business.
Add your business address to the address section of your Facebook Page.
Include Your Hours of Operation
Let customers know when you’re open for business.
If you have special hours during holidays, you can update this section to reflect your new times. Just remember to change them back afterward.
Add your business’s hours to your Facebook Business Page. Then, click “Save.”
Add a Profile Picture and Cover Image
Your profile’s creative elements (i.e., your profile picture and cover image) are part of your visual brand identity.
Which helps audiences recognize your business.
You need to ensure your Facebook Business Page profile picture and cover image are eye-catching and positively represent your brand.
For example, your profile picture could be your brand logo or a campaign image. And your cover photo could show products, the latest promotion, or an event.
Here’s an excellent example by coffee company Bodum:
This works well because:
It’s informative. The banner image shows coffee and tea-making essentials, something that immediately tells first-time visitors what the company is about.
It uses a company logo. The profile picture is the Bodum logo in their iconic brand color, red.
It showcases products. The image is stylish, professionally shot, and promoting the Bodum product line.
Your Page profile picture and cover image must be consistent across your social media channels.
Otherwise, audiences will feel confused about your brand identity.
So first, revisit your company’s social media audit to get a feel for what your profile picture and cover image should be.
Then, gather the creative elements.
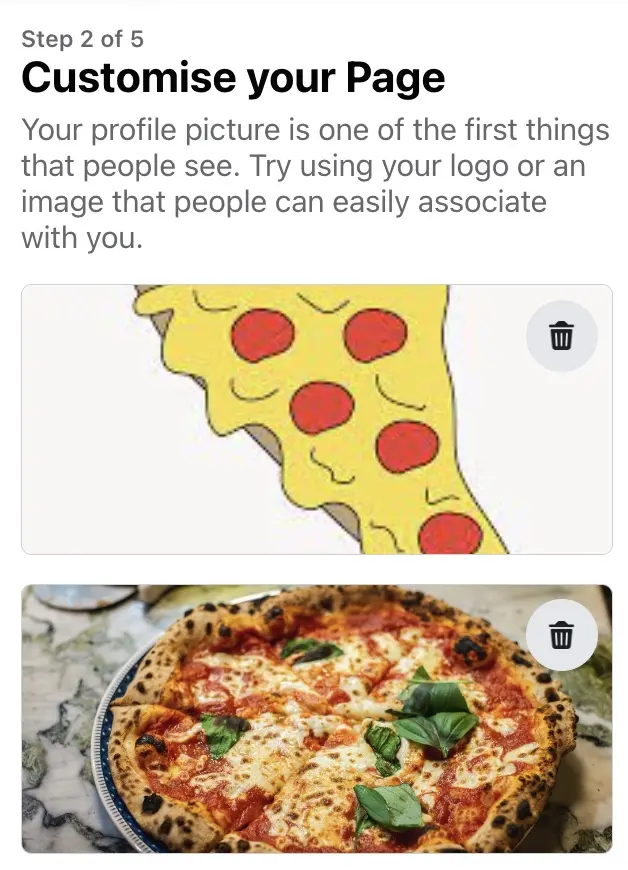
Click “Add Profile Picture” to upload your image. And “Add Cover Photo” to upload your cover photo.
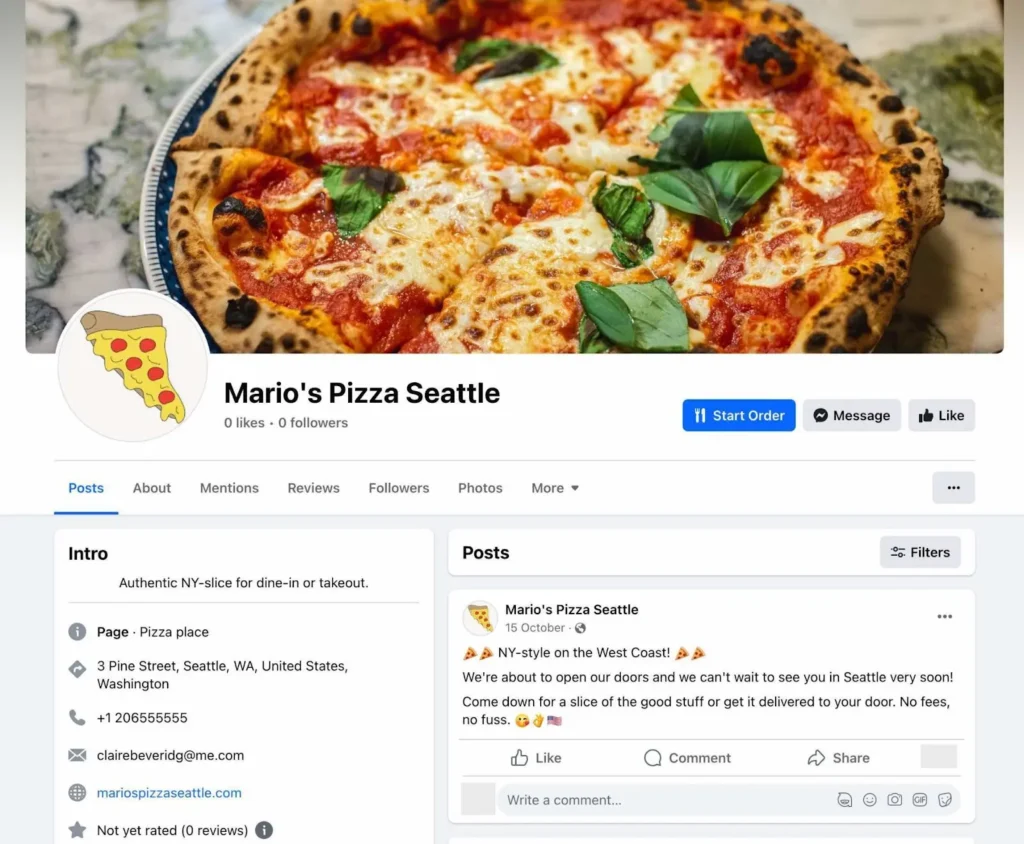
Here is what we uploaded for our fictional business, Mario’s:
Add a Call-to-Action Button
A call to action (CTA) is a button on your Facebook Business Page that encourages people to engage further with your business.
Which helps them on their customer journey.
The button you choose will depend on your social media goals.
For example, do you want to direct traffic to a website or landing page, encourage signups, or drive purchases?
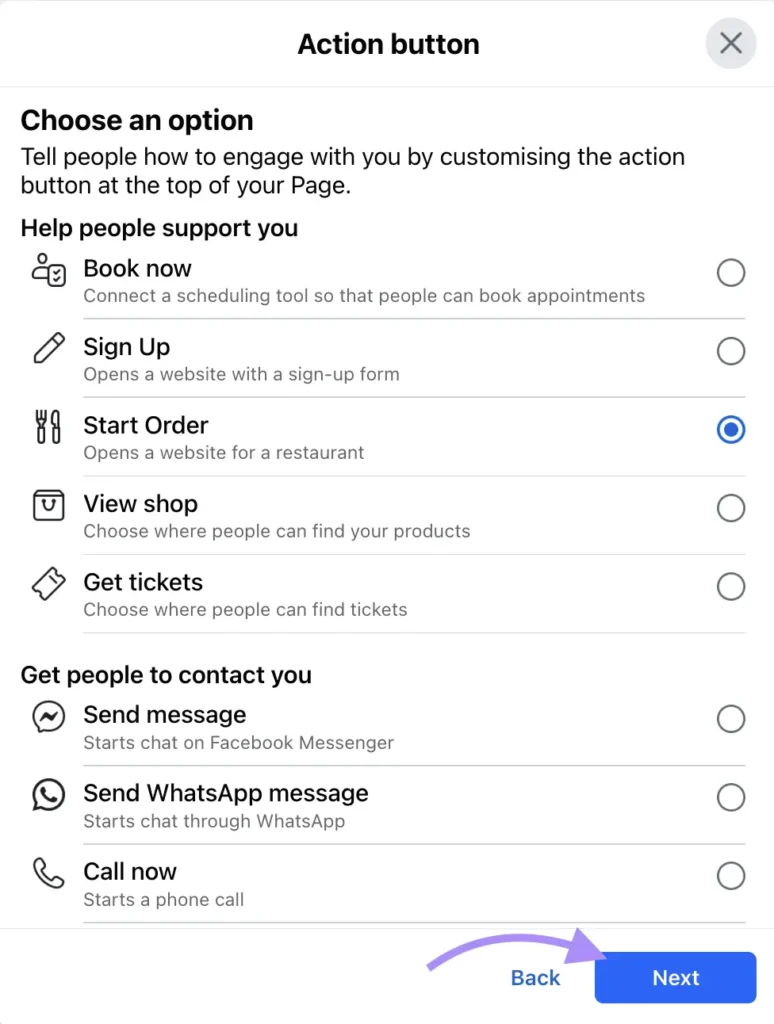
To add a CTA, click on “Add Action Button.”
Select the CTA that best reflects the next step you want your audience to take on their journey to becoming a customer. Then, click “Next.”
Link Your Business Page to WhatsApp
The next step connects your Business Page to WhatsApp—a communication tool owned by Facebook’s parent company, Meta.
This will allow visitors to your Page to contact you on the WhatsApp number you provide.
Which gives potential customers an opportunity to connect and engage with your business.
Enter your WhatsApp number to connect the communications tool to your Facebook Business Page. If you’re not using WhatsApp, skip this step.
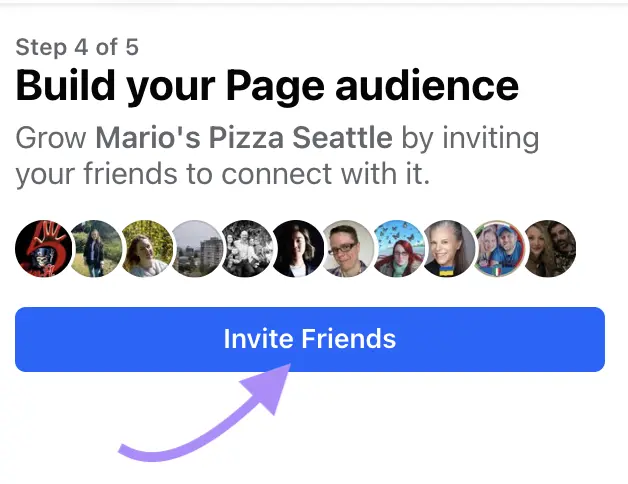
Invite Friends to Connect with Your Page
Next, invite your Facebook friends to connect with your new Business Page.
Asking people who already know you to connect with your Business Page is a great way to build an early audience.
And because they’re your friends and family, they might be more inclined to like and share your content. Helping improve your reach.
Click “Invite Friends” to send requests.
If you want to keep your Business Page private (for now), click “Next.”
Turn On Notifications
Leave notifications turned on to ensure you can easily see and respond to engagement on your Business Page.
For example, comments, mentions, and direct messages.
Otherwise, you might miss opportunities to interact with your target audience.
And that’s like leaving money on the table.
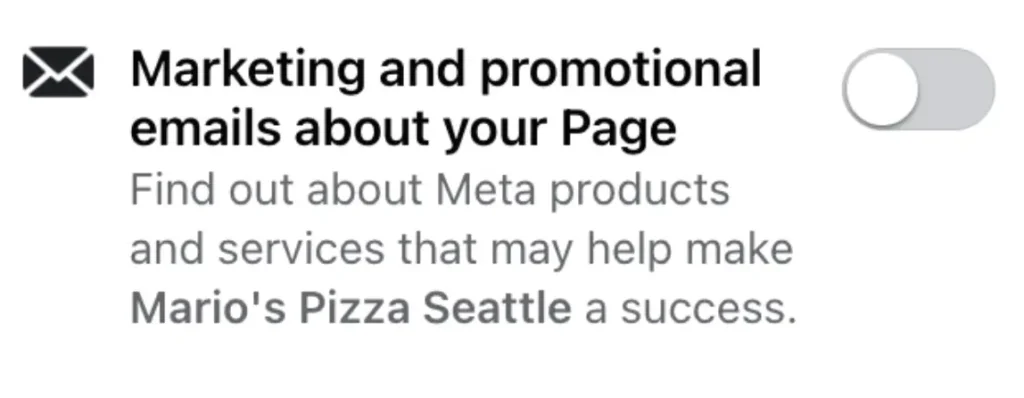
Next, adjust the toggle button on Facebook depending on whether you want to subscribe to marketing emails about your Page.
Then, click “Done.”
Congratulations! You’ve built a Facebook page to promote your business, products, and services.